Making the switch from Windows OS to MAC OSX can be an exciting but daunting experience for any user. While both operating systems have many similarities, the subtle differences can make the transition challenging, especially for new users. If you’re a Windows user and have recently made the switch to MAC OSX, you might find yourself struggling to adjust to the new interface and functionalities.
In this article, we’ll provide some essential tips to help MAC OSX beginners smoothly transition from Windows OS to MAC OSX. We’ll cover everything from the basics of the operating system to some advanced features that can help boost productivity.
Tip #1: Get Familiar with the Interface
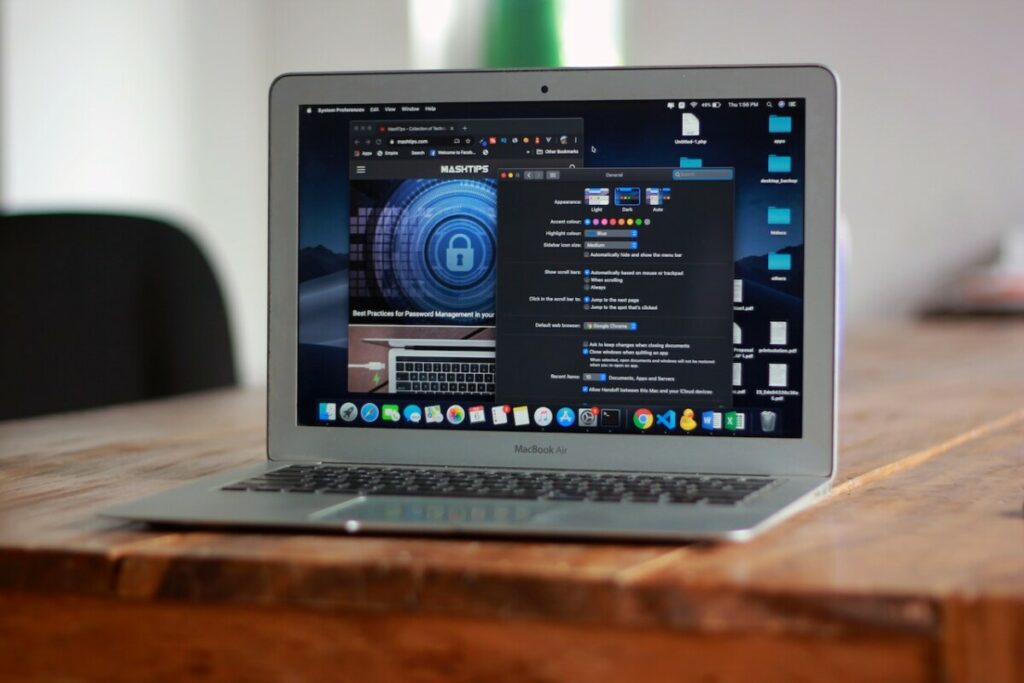
The first thing you should do as a new MAC OSX user is to get familiar with the interface. Unlike Windows OS, which has a Start button at the bottom left corner, MAC OSX has a dock at the bottom of the screen, which displays all your frequently used apps. The dock also shows any open applications with a small dot below the app’s icon.
Another important thing to know is the menu bar, which is located at the top of the screen. The menu bar contains essential functions such as the Apple menu, which provides access to system settings and preferences, and the status bar, which shows important information such as battery life, Wi-Fi connectivity, and volume control.
Lastly, MAC OSX uses Finder instead of File Explorer as the default file manager. Finder allows you to navigate your files and folders with ease and even offers advanced features like Quick Look, which allows you to preview files without opening them.
Tip #2: Learn the Keyboard Shortcuts
Keyboard shortcuts are an essential part of any operating system and can help save time and boost productivity. MAC OSX has a host of keyboard shortcuts that can make navigating the operating system more comfortable and efficient.

Some of the most common keyboard shortcuts include:
- Command + C: Copy
- Command + V: Paste
- Command + X: Cut
- Command + Z: Undo
- Command + A: Select all
In addition to these basic shortcuts, there are many more advanced shortcuts that can be used to perform specific functions within apps or the operating system itself. For example, Command + Spacebar opens Spotlight, which is a quick search feature that allows you to search for files, folders, apps, and even launch apps directly from the search bar.
Tip #3: Customize Your Desktop
One of the great things about MAC OSX is that it’s highly customizable, allowing you to make your desktop your own. You can change the wallpaper, add widgets to your dashboard, and even create custom desktop icons.

To change your desktop wallpaper, simply right-click on the desktop and select “Change Desktop Background.” From here, you can choose from a selection of pre-installed wallpapers or add your own.
You can also add widgets to your dashboard by clicking on the dashboard icon in the dock or using the keyboard shortcut F12. Once you’re in the dashboard, click on the “+” sign at the bottom left corner to add widgets such as weather, stocks, and even a calculator.
Lastly, you can create custom desktop icons by using the built-in app “Preview.” Open the image you want to use as your icon in Preview and then select “Edit” > “Copy.” Next, right-click on the file or folder you want to change the icon for and select “Get Info.” In the Get Info window, click on the icon in the top left corner and select “Edit” > “Paste.”
Tip #4: Use Time Machine to Backup Your Data
Backing up your data is essential to ensure that you don’t lose any important files in case of a hardware failure or other unforeseen circumstances. MAC OSX has a built-in backup feature called Time Machine that allows you to backup your data to an external hard drive or a network-attached storage (NAS) device.
To use Time Machine, simply connect an external hard drive or a NAS device to your MAC, and Time Machine will automatically backup your data on a regular basis. You can also choose to exclude specific files or folders from the backup to save space.
If you ever need to restore your data, Time Machine allows you to do so easily. Simply connect the backup device to your MAC and select “Restore from Time Machine Backup” from the Time Machine menu.
Tip #5: Use iCloud to Sync Your Data Across Devices
If you have multiple MAC devices or an iPhone and an iPad, using iCloud can be a great way to keep all your data in sync across all your devices. iCloud allows you to sync your contacts, calendars, photos, and even files and documents.
To use iCloud, simply sign in with your Apple ID and enable the features you want to use. You can also access your iCloud data from any web browser by visiting iCloud.com.
Tip #6: Take Advantage of Siri
Siri is a virtual assistant that can help you perform tasks on your MAC using your voice. You can use Siri to send messages, make phone calls, set reminders, and even search the web.
To activate Siri, simply click on the Siri icon in the dock or use the keyboard shortcut Command + Spacebar. Once Siri is active, you can ask it to perform tasks by speaking naturally.
Tip #7: Explore the App Store
MAC OSX has a vast selection of apps available for download in the App Store. You can find apps for productivity, creativity, entertainment, and even education. Some of the most popular apps in the App Store include Microsoft Office, Adobe Creative Suite, and Final Cut Pro.
To access the App Store, simply click on the App Store icon in the dock or use the keyboard shortcut Command + Spacebar to open Spotlight and search for “App Store.”
Tip #8: Learn the Terminal
The Terminal is a powerful tool that allows you to perform advanced tasks and customize your MAC OSX experience. The Terminal uses command-line interface (CLI) to execute commands and scripts.
Some of the most common commands used in the Terminal include:
- ls: List all files and directories in the current directory
- cd: Change directory
- mkdir: Create a new directory
- rm: Remove files or directories
- sudo: Execute a command with administrative privileges
While the Terminal can be intimidating for new users, it’s an essential tool for advanced users and can help boost productivity.
Tip #9: Join the MAC Community
Finally, joining the MAC community can be an excellent way to learn more about MAC OSX and connect with other MAC users. There are many online forums and communities dedicated to MAC users, such as the Apple Support Community, MacRumors, and Reddit’s r/mac.
By joining these communities, you can ask for help with any issues you’re facing, learn new tips and tricks, and even share your own experiences with other MAC users.
Conclusion
Making the switch from Windows OS to MAC OSX can be a challenging but rewarding experience. By following these essential tips, you can make the transition smoother and take advantage of all the great features that MAC OSX has to offer.
Remember to get familiar with the interface, learn the keyboard shortcuts, customize your desktop.


